Upgrade Your Style By Making Your Low-Priced Clothes Look Voguish

No matter how much fashion and lifestyle magazines clamor over the S$1000 pair of Christian Louboutin heels, the average person cannot afford to have a shoe rack full of it. Fortunately, you can dress up fashionably without having to break the bank! All you have to do is make the low-priced clothing look more expensive. Try these tips:

1. BACK TO BASICS

The old saying is true: “Simplicity is the ultimate sophistication”. This is why you must avoid handbags or clothes that are filled with bargain embellishments or distressed denim patterns. If you want to accessorize, opt for a thick bracelet rather than stacking three little ones to increase the outfit’s impact. Remember: the sleeker and simpler – the better.

2. CHOOSE MONOCHROMATIC

Since splashing yourself with every color on the rainbow can look cheap, wear one color or one shade of color from head-to-toe. This creates an illusion of supreme quality. For example, you can wear the different shades of black, from Jet-Licorice, to look slimmer and fashionable. Although, this does not mean that you will avoid experimenting with color all together. You may suit up with bold pastels or deep jewel tones.

3. CHANGE THE BUTTONS

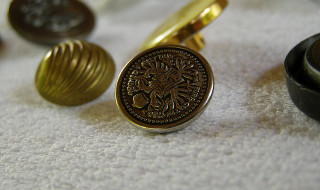
One of the tricks that stylists do is to replace the inexpensive plastic buttons with pearl or metal ones. You can purchase affordable and beautiful vintage, metal, pearl, and crystal buttons for as low as S$6.93 at Etsy.com.

Image Credits: Erich Ferdinand via Flickr with Creative Commons License

Image Credits: Erich Ferdinand via Flickr with Creative Commons License

4. SELECT THE RIGHT FABRIC

Cheaper fabrics are always obvious especially if there are loose threads hanging on the side. So, prefer pieces that are made with cotton, linen, and tweed. The prices of these materials may be reasonable but they often seem more expensive.

5. TAILOR EVERYTHING

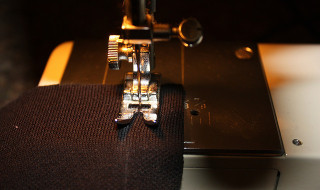
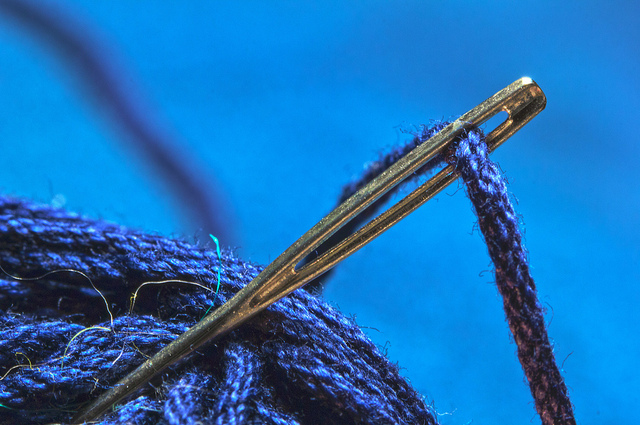
Tailoring your jeans for about S$5-12 is worth every buck as it can transform your S$13 Forever21 jeans into a designer looking one. It goes the same for a tailored blazer or a tailored dress. Aside from having it tailored by a professional, you can save more money by mastering these simple alteration stitches.

Image Credits: Hillary via Flickr with Creative Commons License Attribution-ShareAlike

Image Credits: Hillary via Flickr with Creative Commons License Attribution-ShareAlike

Do not let the tight clothing budget fool you into thinking you’re not Vogue-worthy! 🙂

Sources: 1 & 2

Read More...

Spend Under S$10 To Bring Back The Sparkle Of Your Jewelry

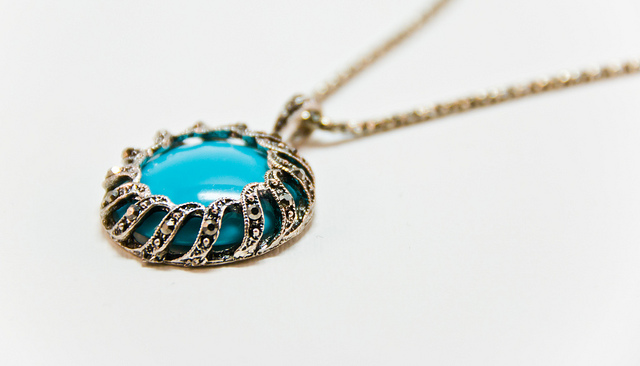
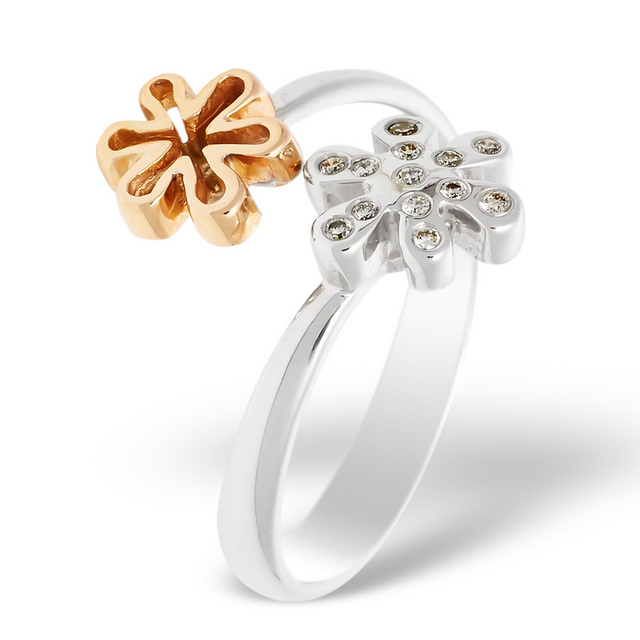
Letting your treasured necklaces, bracelets, rings, or other heirlooms shine again can cost you about $35-139.90. That is the hefty price you may pay if you want to purchase an Ultrasonic Jewelry Cleaner. So..instead of getting expensive cleaning machines, professional cleaning services, or cleaning solutions, opt for practical Do-It-Yourself ways to clean your favorite bling! Here is how:

1. DIAMOND AND SILVER POTION

This mixture is exclusively for cleaning your precious diamonds and silvers. The ingredients are mostly available in your kitchen thus; you would not have to spend a lot.

Ingredients: 

Small bowl

Aluminum foil

Paper towel

Old toothbrush

1-tablespoon salt

1-tablespoon baking soda

1-teaspoon dish detergent

1-cup hot water

Procedure:

Fill the small bowl with a square sheet of aluminum foil then, put the salt, baking soda, and dish detergent. Watch as the liquid buzz while you add the hot water. Afterwards, drop your jewelry there and leave it for 10 minutes. Once the minutes are up, remove the jewelry and use the toothbrush to gently scrub around any prongs, groves, or gemstones. Lastly, rinse and pat dry.

Image Credits: Aleksey Gnilenkov via Flickr with Creative Commons License

Image Credits: Aleksey Gnilenkov via Flickr with Creative Commons License

*Note: For Pandora’s jewelry, do not use this method as it may be considered too harsh. Instead, check out 3c. below.

2. GOLDEN POTION

One of the biggest reasons why your gold does not shine anymore is because it is filthy! Clean your gold jewelry the right way with this mixture. Much like the diamond and silver potion, ingredients for the gold mixture are available in your home.

Ingredients:

Toothpaste

Old Toothbrush

Soft cloth (dry)

Procedure:

Apply the toothpaste on the toothbrush and scrub the gold jewelry well. If you have a larger piece of gold to shine, repeatedly rinse off the toothbrush and use more toothpaste. Then, rinse it off with water. Lastly, get your soft cloth to dry it. Use circular motions to polish your golden jewelry!

3. OTHERS

a. White Vinegar

If white vinegar had a C.V., its skills would fill 1-2 pages. Yes! That is abundantly skilled this multi-purpose agent is. To clean your bling, mix a cup full of water with a half-cup of white vinegar and stir well. Put your silver pieces onto the mixture and leave it for 2 hours. Once the hours are up, remove the jewelry pieces then, rinse with cold water. Lastly, pat dry with a soft cloth.

Not bad for S$2.60 a pop (i.e., sold at FairPrice)!

b. Beer

A beer that costs you as low as S$3.10-4.50 (i.e., at FairPrice) can not only give you a fun time but also can give you back the shimmer of your jewelry! In a mug of beer, soak your jewelry overnight. On the next day, remove your jewelry and rinse it off in running water. Dry these up and be astonished on how shiny the pieces are!

Image Credits: Aleksey Gnilenkov via Flickr with Creative Commons License

Image Credits: Aleksey Gnilenkov via Flickr with Creative Commons License

c. Dish Soap

The dish soup sitting on your kitchen sink can also be used to bring back the shine from your jewelry pieces. This is a milder form of cleaning you sterling silver and it works well with your Pandora’s bracelet and charms. Simply add a few drops of the dish soap into a bowl of warm water and let your Pandora sit in it for a few minutes. Clean it with a soft bristle toothbrush if you like and pad them dry individually with a dry cloth. Make sure that if your charms is made of wood, leather or pearl, you should not use this method.

Sources: 1, 2, 3, 4, 5, 6 & 7


Read More...

Do Not Let These Feelings Drain Your Money

“Emotional Spender: Someone who spends money freely to satisfy his or her feelings at the moment.”

Whether the feelings or emotions are positive or not, letting these dictate your purchases may potentially lead to a disaster. Ask yourself, are you one of them? Another interesting characteristic that an emotional spender has is the regret after spending. This is sometimes due to spending more than one can afford. Fortunately, you can change for the better!

The first step you must take is to identify the problem by figuring out what emotions or feelings trigger your snap financial decisions. Then, use budgeting to guide you as you stop this nasty buying habit.

Here are some of the emotions that may affect your free spending:

1. ANGER

Let us start the list off with Anger. Shopping while you are angry makes you more likely to take risks. This is because purchasing while you are angry can make you feel empowered. For example, if you are angry with your spouse, you can just grab your credit card (i.e., from your joint account) and not care about how much you spend on clothes. An expensive revenge indeed!

Solution: Making yourself feel better by filling the void inside you is not a good move. Instead, lock yourself in a room, play your favorite song, and write down what you feel. Do these things to help you simmer down and avoid emotional purchases.

2. BOREDOM

Having too much time in your hands can make you spend more. Shopping, a very pleasant activity can keep you busy and make you feel occupied. So, it may act as a substitute for other fulfilling and productive activities. For example, if you work from home, it is natural to have a few hours to spare. As leisure, you decided to go on shopping trips since shopping is not only a boredom buster but also an activity you can do alone.

Solution: Find a fun hobby or activity to occupy you when you are bored. You may try cooking different pasta recipes or catching up on your favorite TV shows. Toggle.sg lets you watch episodes of your favorite shows at Channel 5, Channel 8, Channel U, Okto, Suria, and Vasantham – at no cost!

3. HAPPINESS

How can a positive feeling make you splurge your paycheck? Well, it is possible if you want to celebrate a milestone (e.g., promotion, raise, or graduation) in a grand fashion. According to research by Harris Interactive, 53% of people are guilty of celebratory shopping. This goes to show that shopping in a good note is normal but it may come with expensive price tags.

Solution: Celebrate a momentous event within your means. Having an intimate gathering of your closest loved ones is better than having a huge graduation party at a 5-star hotel. It is okay to indulge once in a while as long as you have money to spare. You deserve it!

CONCLUSION

Spending the money you either do not have or you can well spend elsewhere to satisfy your emotional needs only create more problems than solutions. If you set up a budget with a room for reasonable indulgence then, it is acceptable to spend. After all, that is how personal finance should work.

Image Credits: Antoine K via Flickr with Creative Commons License

Image Credits: Antoine K via Flickr with Creative Commons License

Sources: 1 & 2

Read More...

Save On Transport With The Off-Peak Monthly Travel Pass

Are you one of those people who are always on the go on weekends and public holidays? While on weekdays, you typically travel before 6:30am and after 7:30pm? Then, the new Off-Peak Monthly Travel Pass is the perfect public transport card for you!

The Off-Peak Monthly Travel Pass (OMTP) was implemented by the government to help reduce the citizens’ monthly transport expenditures. What is heavily attractive with the OTMP is that it offers UNLIMITED travel by bus and trains during weekday’s off-peak timings. And, the best part is you will have unlimited travels all-day long during weekends and public holidays.

The price for the OMTP is as follows:

S$80/month for Adults

S$40/month for Senior Citizens and Persons with Disabilities (PWD)

OMTP illustration

(Image: Ministry of Transport)

Aside from the prices, you must be aware that in order to buy your very own OMTP, you must first have or apply for an Adult Monthly Travel Card, a Senior Citizens Concession Card, or a PWD Concession Card.

Moving on to the exciting part, the weekday timings of the OMTP are before 6:30 am, between 9:00 am to 5:00pm, and after 7:30 pm. Surely, it is best suited for certain lifestyles such as people who work in hospitals or schools. Putting that into perspective, say Jane is a nurse and works an afternoon shift followed by a morning shift. Her afternoon shift will end at 9pm. So, she would travel after 9pm. Then, she must travel before 6:30 the next day as her morning shift starts at 7 am. This schedule definitely fits the weekday off-peak time scheme.

Image Credits: Walt Stoneburner via Flickr with Creative Commons License

Image Credits: Walt Stoneburner via Flickr with Creative Commons License

To illustrate the savings, let us take teacher Josh as an example. Josh needs to travel before 6:30 am as the school starts on 7:20 am. If he lives in Toa Payoh and the school is at Clementi, his daily bus fare would cost about S$3.06-4.26 depending on which buses he takes. That is equivalent to S$67.32-93.72 a month, only during the weekdays! He will surely save a lot more with the OMTP scheme as it covers unlimited travel by buses and trains all day on the weekends and public holidays.

The savings of an individual depends on how far he or she commutes and on whether the OMTP fits his or her daily schedule. So, if you are eager to get your own OMTP…hold your horses! The pre-purchase at any TransitLink Ticket Office, MRT Stations, and Ticketing Machines starts on June 28 but it is available for use from July 5.

Image Credits: Screen-grabbed from www.youtube.com/user/LTAsingapore

Image Credits: Screen-grabbed from www.youtube.com/user/LTAsingapore

Sources: 1 & 2


Read More...

Save Money On Clothing Alterations By Mastering These Simple Stitches

Tailoring or sewing services in Singapore can range from S$5-40 depending on the type of clothing article. For instance, altering straight-cut jeans range from S$5-12 while altering of jackets can range from S$12-36. Some of the prices are too much if you asked me. You might as well buy a new one.

Aside from the costs, the standard waiting time for its collection can last from 1-14 days. And, if you do not have the time, you might as well buy a new one.

To avoid this dilemma, it is important to master some simple stitches that you can immediately use as the need rises. Do not fret if you have zero knowledge on sewing because mastering the basics can be done at home. All you have to do is to browse through the free tutorial videos available online. Here are the simple stitches you may start with:

1. RUNNING OR STRAIGHT STITCH

The easiest and the simplest of all the stitches in this list is the running stitch, otherwise known as the straight stitch. This stitch involves taking the needle repeatedly under then over. You shall see the thread forming a line throughout the fabric. This is useful for repairing torn out parts of the pockets or sleeves.

2. WHIPSTITCH

Let us “up the ante” a little bit with the diagonal techniques of whipstitch. A whipstitch is typically used to sew to separate pieces of material together. It is perfect for altering or repairing trousers, sleeves, and jackets because it leaves nearly invisible traces of thread. Follow this video to learn about the fascinating whipstitch:

3. SEW A BUTTON

A usual situation that needs immediate repair is clothing that lacks buttons. Learning how to sew a button is quick and uncomplicated. The first thing you must do is to choose a suitable button and a matching thread. You may check if the manufacturer has included an additional button. Then, be guided by this short video:

4. SEW A HEM

From your table cloth to your boxers and gowns, hems are found on most common articles of clothing and fabric. This is why it is important for you to be familiarizing on how to sew a hem in case yours gets loose or in case you want to make your own. You can either use a catch stitch (i.e., exposed) or a slip stitch (i.e., invisible) to sew a hem. Learn how to make these two stitches, here:

https://www.youtube.com/watch?v=tMqK-fNrCrM

Sources: 1 & 2

Read More...